
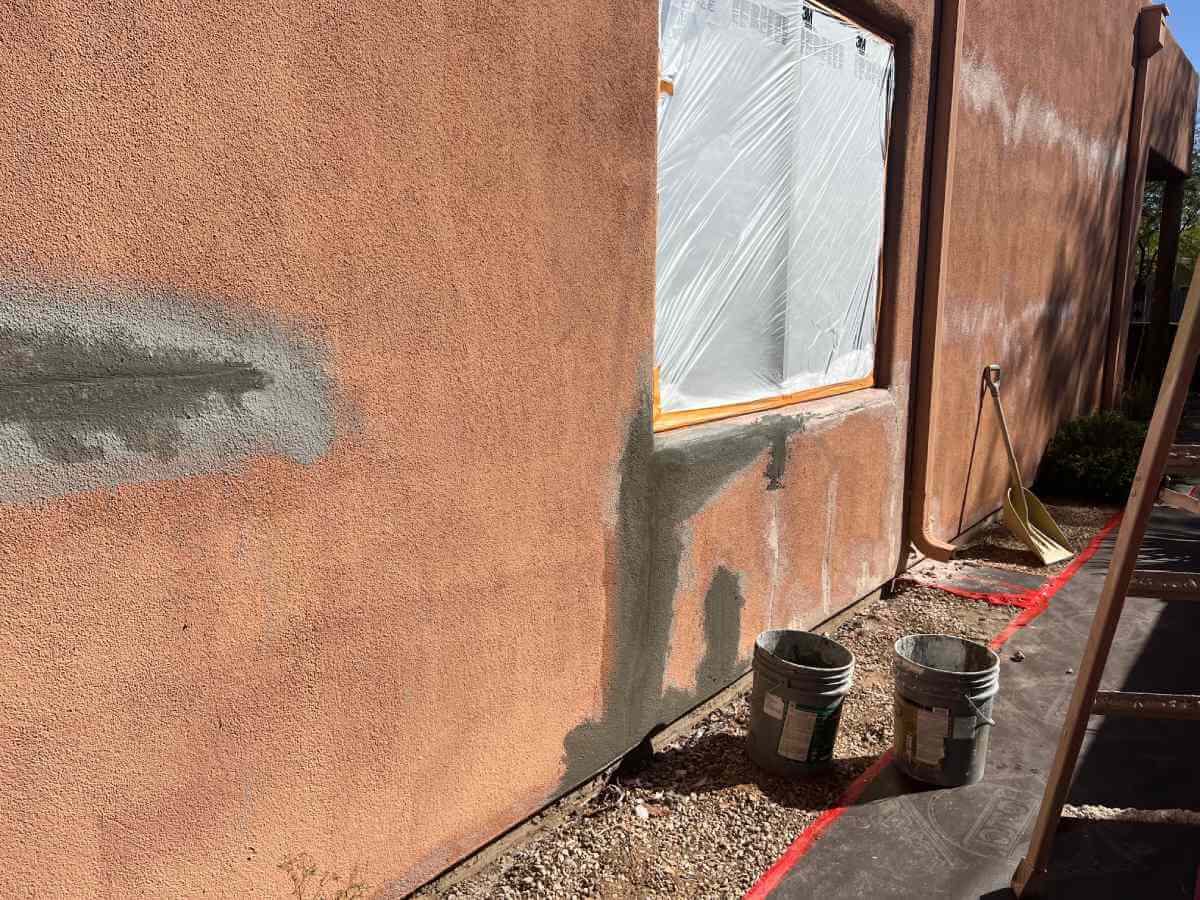







Did you know that well-maintained stucco can last over 50 years? However, cracks in stucco can quickly compromise its durability and aesthetic appeal. Understanding how to identify, prevent, and repair these cracks is essential for homeowners in Southern Arizona.
In this guide, we’ll cover:
- Identifying cracks in stucco
- Preventing stucco cracks
- Best practices for repairing stucco cracks with caulk
- Choosing the best caulk for stucco cracks
- DIY vs. professional stucco repair
At Sunset Coatings, we specialize in stucco repair and will ensure that your home’s exterior remains beautiful and intact. Need stucco repairs now? Schedule your free estimate today or give us a call at (520) 909-1714 to learn more about our stucco services.
Identifying Cracks in Stucco
Types of Cracks
-
Hairline Cracks: These are very thin, often less than 1/16 inch wide, and are usually cosmetic. They can result from minor settling or slight shifts in the building structure. While they’re generally not a cause for concern, they should still be monitored and repaired to prevent moisture from entering.
-
Larger Cracks: Cracks wider than 1/8 inch can indicate more significant issues. These cracks might suggest structural problems, severe weather impacts, or improper installation of the stucco. Such cracks should be inspected and repaired promptly to avoid further damage. Wide, deep, or diagonal cracks in particular may signal foundation movement and warrant a professional assessment before any cosmetic repair.
Causes of Stucco Cracks
-
Environmental Factors: Southern Arizona’s extreme weather conditions, including intense heat and heavy rains, can cause stucco to expand and contract. This thermal cycling leads to cracks over time. Proper maintenance and weather-resistant materials can mitigate these effects.
-
Structural Issues: Settlement of the building, vibrations, or movements caused by external forces can lead to cracks in stucco. These structural issues often require professional assessment to determine the best course of action for repair.
-
Improper Installation: If stucco is not applied correctly, it can crack as it dries and sets. Poor mixing of materials, inadequate curing time, or improper application techniques can all contribute to the development of cracks.
Preventing Stucco Cracks
Prevention is always better than cure. Using quality materials, providing regular maintenance, and performing routine stucco inspections can significantly reduce the occurrence of stucco cracks.
Regular Maintenance Tips
-
Routine Inspections: Regularly inspect your exterior stucco for signs of wear and tear, especially after storms or extreme weather. Look for hairline cracks, discoloration, or areas where the stucco appears to be pulling away from the structure.
-
Proper Water Management: Ensure that your home’s drainage system directs water away from stucco surfaces to prevent moisture damage. This includes maintaining gutters and downspouts and ensuring that water doesn’t pool around the foundation. Make sure sprinkler heads are positioned so they don’t spray directly onto stucco walls.
-
Protective Coatings: Applying an elastomeric or weather-resistant coating over your stucco after repairs can add a flexible barrier that helps prevent future cracking and protects against UV exposure.
Quality Materials and Installation
-
High-Quality Stucco Materials: Using high-quality stucco materials can prevent cracks. Products from reputable brands are more likely to withstand environmental stressors and last longer.
-
Proper Installation Techniques: Ensuring that stucco is applied correctly by a licensed stucco contractor, such as Sunset Coatings Stucco & Paint, can prevent many common issues. Proper mixing, application, and curing are critical for a durable stucco finish.
By following these prevention tips, you can keep your stucco in great condition for years. However, if cracks do appear, knowing how to repair them is essential.
Best Practices for Repairing Stucco Cracks With Caulk
Repairing stucco cracks with caulk is a straightforward process, but it requires attention to detail to ensure a long-lasting fix.
Preparing the Surface
-
Cleaning the Area: Before applying stucco repair caulk, clean the crack thoroughly. Remove any loose debris, dirt, or old caulk. Use a wire brush or compressed air to ensure the crack is clean and ready for repair. Skipping proper surface prep is one of the most common mistakes that leads to failed repairs, as the caulk cannot bond to a dirty or crumbly surface.
-
Ensuring Dryness: Make sure the area is completely dry before applying the new caulk. Moisture can prevent the caulk from adhering properly and can lead to future issues. If you’re unsure, wait 24 to 48 hours after any rainfall before beginning the repair.
Applying Caulk
-
Selecting the Right Caulk: Choose a caulk specifically designed for stucco that’s flexible and weather-resistant. Polyurethane or acrylic latex caulks are ideal for stucco crack repair. For hairline cracks, an acrylic or sanded caulk blends most easily into the existing finish. For larger or deeper cracks, a polyurethane caulk provides a stronger, more watertight seal.
-
Techniques for Applying Caulk into the Crack: Cut the caulk tube’s nozzle at a 45-degree angle, sizing the opening to match the width of the crack. Apply the caulk smoothly into the crack, ensuring it fills the entire gap. Use a caulking tool or your finger to smooth it out and blend it with the surrounding stucco.
-
Texture Matching: To make the repair less visible, match the texture of the caulk to the surrounding stucco before it dries. For rough or sand-finish stucco, use a sanded caulk or dab a damp sponge over the fresh caulk to replicate the existing texture. The goal is a seamless, invisible repair.
-
Curing and Painting: Allow the caulk to cure fully (this typically takes at least 24 hours) before applying primer and paint. Rushing this step can trap moisture and compromise the repair. Make sure the caulk you choose is paintable so the finished repair blends with your exterior.
Common Mistakes To Avoid
-
Using the wrong product: Standard silicone caulk is not recommended for stucco. It’s difficult to work with, doesn’t blend into the finish, and isn’t paintable. Use an acrylic, polyurethane, or elastomeric caulk instead.
-
Skipping surface prep: Failing to clean and dry the crack before applying caulk is the most common cause of a repair that peels or cracks again within months.
-
Applying too much caulk: More caulk does not mean a better seal. Overfilling a crack can make it difficult to achieve a smooth, texture-matched finish. Apply just enough to fill the gap.
-
Ignoring weather conditions: Avoid applying caulk in extreme heat, direct sunlight, or when rain is expected within 24 hours. Most caulks perform best when applied between 40°F and 100°F.
Choosing the Best Caulk for Stucco Cracks
Choosing the right caulk is necessary for a durable and effective repair. Here are the main types and some factors to consider:
Types of Stucco Caulk
-
Acrylic Latex Caulk: Easy to apply, paintable, and cleans up with water. Acrylic latex caulk provides good adhesion to stucco surfaces and is the best choice for sealing hairline cracks on the finished surface. Products such as DAP Alex Plus are widely available at hardware stores and provide reliable performance for minor stucco repairs.
-
Polyurethane Caulk: Known for strong adhesion, excellent flexibility, and superior weather resistance. Polyurethane caulk is ideal for larger cracks and areas that see more moisture exposure. Brands such as Sikaflex and DAP Polyurethane are top-tier options. Note that polyurethane is thicker and harder to work with than acrylic, and cleanup requires mineral spirits rather than water.
-
Sanded Caulk: An acrylic-based caulk with fine sand added to better match the texture of a stucco finish. Sanded caulk works especially well on medium to rough stucco textures and is a great choice when you want the repair to blend in without additional sponging or texturing. Mor-Flexx is a popular sanded stucco caulk.
-
Elastomeric Caulk/Filler: Elastomeric stucco crack fillers are specifically formulated to stretch and contract with your home’s movement. Products such as Quikrete Stucco Crack Repair come in convenient squeeze tubes and feature a textured finish designed to mimic stucco, making them a favorite among DIYers.
Caulk vs. Stucco Patch
For hairline cracks, caulk is the best repair method. For cracks wider than about 1/2 inch or areas with missing stucco, a pre-mixed stucco patch compound (such as Quikrete Pre-Mixed Stucco Patch) may be more appropriate.
Patches have a grittier texture that matches stucco more closely but are less flexible than caulk.
Factors To Consider
-
Weather Resistance: The caulk should withstand harsh weather conditions, including UV exposure, intense heat, and rain. Weather-resistant caulks prevent cracks from reappearing due to environmental stressors.
-
Flexibility and Durability: The caulk should remain flexible to accommodate the expansion and contraction of stucco and last for many years. Rigid fillers will crack again as your home moves with temperature changes.
-
Paintability: Choose a caulk that can be painted so the repair blends with your exterior color. Most acrylic and elastomeric products are paintable; always check the label.
-
Adhesion: Look for a product that bonds well to stucco, concrete, masonry, and any surrounding trim materials.
Recommended Products
- DAP Alex Plus (Acrylic Latex): Best for hairline cracks and easy application. Price range under $5.
- Sikaflex Construction Sealant (Polyurethane): Best for larger cracks and high-moisture areas. Price range $6 to $10.
- Quikrete Stucco Crack Repair (Elastomeric): Best for hairline to 1/2 inch cracks and DIY-friendly use. Price range under $8.
- Mor-Flexx Stucco & Mortar Sealant (Sanded/Rubberized): Best for textured finishes and weather-prone areas. Price range $8 to $12.
- DAP Flexible Stucco Patch (Elastomeric): Best for all-purpose use with high flexibility. Price range $8 to $12.
These products are widely available at Home Depot, Lowe’s, and local hardware stores and are recommended for their effectiveness in caulking cracks in stucco.
DIY vs. Professional Stucco Repair
While some stucco repairs can be handled as DIY projects, others require professional expertise.
When To DIY
-
Simple Hairline Cracks: Minor hairline cracks can be easily fixed with the right tools and caulk. These repairs are typically straightforward and don’t require extensive skills.
-
Availability of Proper Tools: If you have the necessary tools and some DIY skills, you can handle minor repairs. Tools needed include a caulking gun, caulk, cleaning tools, and a putty knife or caulking tool for smoothing.
When To Call a Professional
-
Extensive Damage: If you notice large cracks, multiple cracks in a pattern, or signs of moisture damage behind the stucco, it’s best to consult a licensed stucco contractor. Professionals can assess the extent of the damage and recommend the best repair method.
-
Recurring Cracks: If a crack you repaired keeps coming back, it often indicates an underlying structural issue that caulk alone won’t solve. A professional can identify and address the root cause.
-
Ensuring Structural Integrity: Professionals have the expertise to ensure that repairs are done correctly and don’t mask underlying issues. This ensures the longevity and durability of the stucco exterior.
Using Caulk for Stucco Cracks: The Bottom Line
Maintaining your stucco exterior involves regular inspections and timely repairs. By identifying cracks early, choosing the right caulk, and applying it correctly, you can preserve the beauty and functionality of your stucco walls.
For extensive damage or professional advice, Sunset Coatings Stucco & Paint is here to help, whether you need a quick repair or extensive stucco restoration. Book your free site visit and estimate today.
Frequently Asked Questions
What causes cracks in stucco walls?
Environmental factors such as extreme heat and rain, structural issues such as foundation settling, and improper installation are the most common causes. In Southern Arizona, thermal cycling, where stucco expands in the heat and contracts at night, is a particularly frequent contributor.
Can I repair stucco cracks myself?
Yes, minor hairline cracks can be repaired with the right tools and caulk. For extensive damage, wide cracks, or recurring cracks that keep reappearing, consult a professional stucco contractor.
How often should I inspect my stucco exterior?
It’s recommended to inspect your stucco exterior at least once a year and after major weather events such as monsoon storms or extended periods of extreme heat.
What is the best caulk for stucco cracks?
The best caulk for stucco cracks is weather-resistant, flexible, and durable. For hairline cracks, an acrylic latex caulk such as DAP Alex Plus is easy to apply and paintable. For larger cracks, a polyurethane caulk such as Sikaflex provides a stronger, more watertight seal. Elastomeric stucco fillers, such as Quikrete Stucco Crack Repair, are also excellent all-around choices.
How often should I re-caulk stucco?
The frequency depends on the type of caulk used and your local climate. On average, stucco caulking lasts 5 to 10 years before it needs to be inspected and potentially replaced. In Southern Arizona’s intense sun, inspect caulked areas annually for signs of shrinking, cracking, or pulling away from the surface.
Can I use silicone caulk on stucco?
Silicone caulk is generally not recommended for stucco repairs. It’s difficult to work with, it does not blend well into stucco finishes, and most silicone formulas are not paintable. Acrylic latex, polyurethane, or elastomeric caulks are much better choices for stucco crack repair.
Should I prime before painting over caulk?
Yes. Fresh caulk is more porous than the surrounding stucco and will absorb paint differently, which can cause a dull or patchy appearance called “flashing.” Applying a coat of exterior primer over the repaired area before painting ensures an even, consistent finish.