
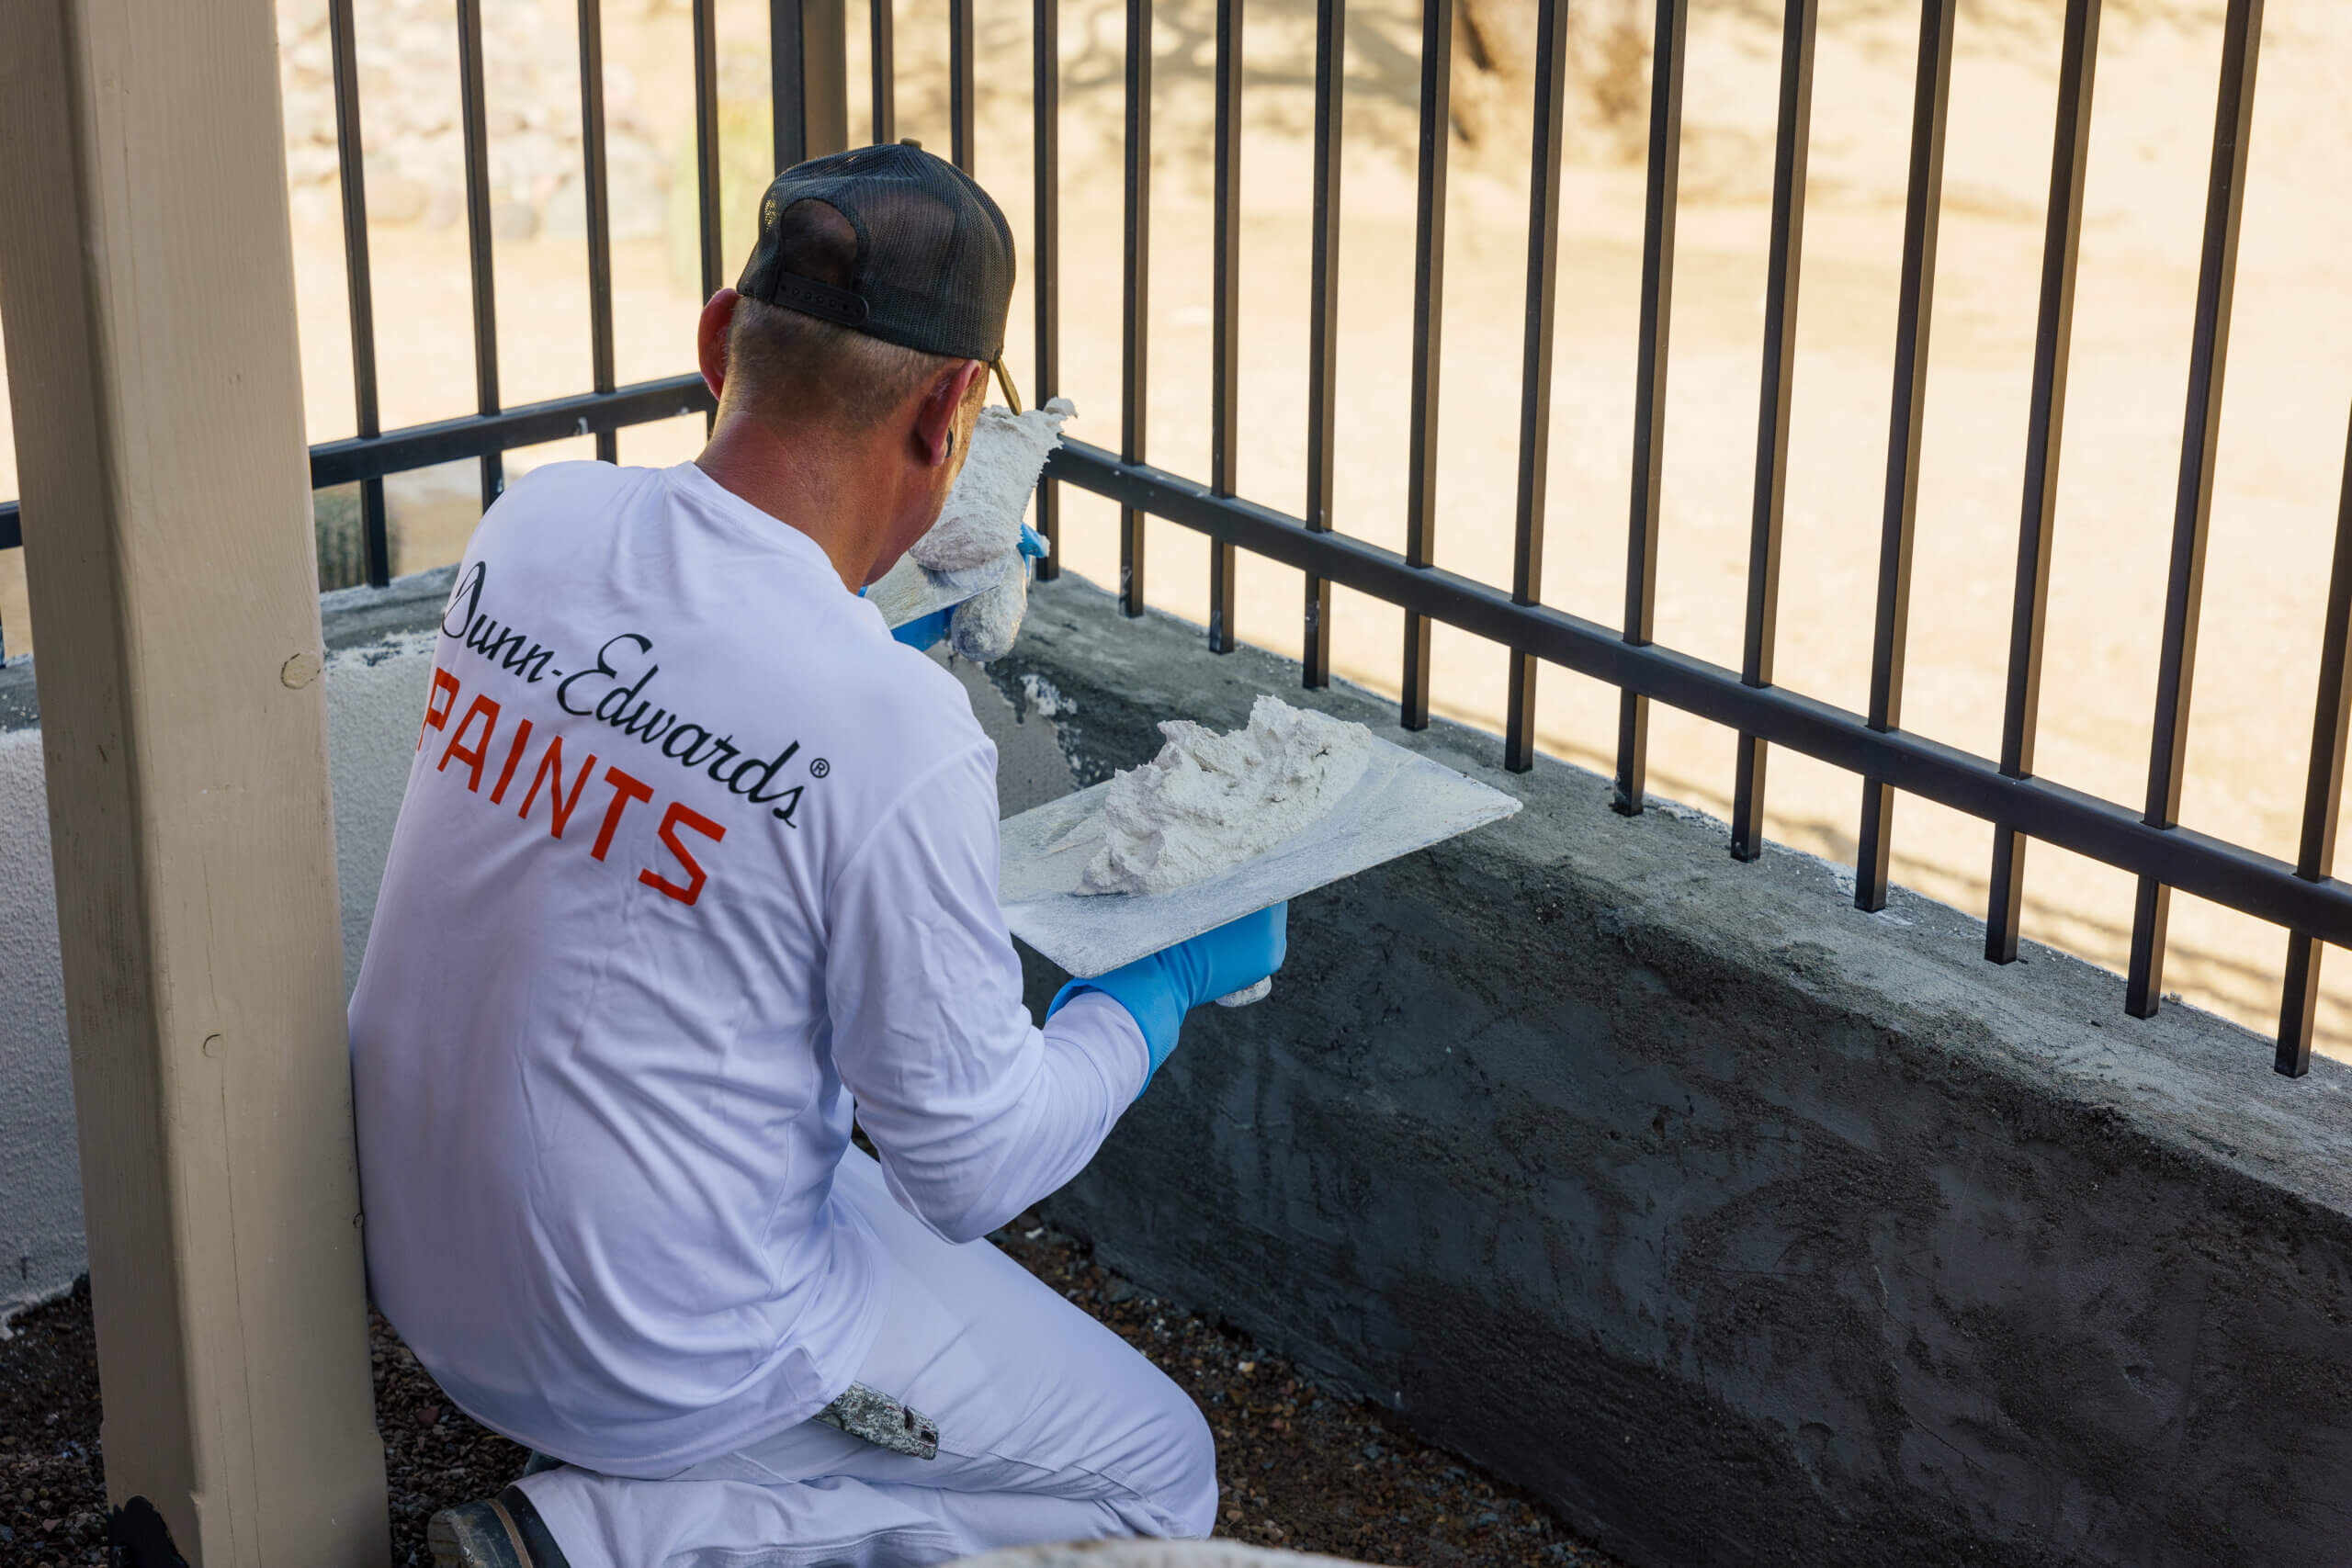







Wondering how to repair stucco? Whether you’re dealing with a hairline crack or a fist-sized hole, this step-by-step stucco repair guide walks you through each phase, from assessing the damage to sealing the finished repair like a professional.
Stucco is one of the most durable exterior finishes available, but it isn’t invincible. Settling foundations, moisture intrusion, impact damage, and thermal cycling can all take a toll. In the Tucson desert, intense monsoon rains followed by extreme heat put added stress on stucco walls, making timely repairs essential.
Addressing damage early prevents small cracks from becoming costly structural problems. With the right tools, materials, and technique, most homeowners can handle common stucco repairs on their own. For larger or recurring damage, hiring a licensed stucco contractor is the safest option.
Sunset Coatings Stucco & Paint can handle any stucco repair job, from small cracks to full stucco restoration. With over 25 years of experience and a 2-year warranty on our work, you can rest easy knowing your stucco exterior is in good hands. Schedule a free estimate today.
Step 1: Assess the Damage
Before picking up any tools, take time to evaluate what you’re working with. A thorough stucco inspection determines the right repair approach and prevents you from fixing only the surface while a deeper issue persists.
Identify the Type of Stucco
There are two main stucco systems, and each requires a different repair method:
- Traditional stucco (three-coat system): Made from Portland cement, sand, hydrated lime, and water. Applied in three layers (scratch coat, brown coat, and finish coat) over metal lath. This system has been used for over a century and is the standard across most Tucson homes.
- Synthetic stucco (EIFS): Exterior Insulating and Finishing System. Built with foam insulation board, fiberglass mesh, and a synthetic base coat. EIFS requires specialized repair materials, as using Portland cement-based products on synthetic stucco can cause delamination.
EIFS and acrylic finishes require system-compatible materials. For damaged foam, mesh, base layers, or recurring delamination, request a synthetic stucco repair inspection before applying a general-purpose patch.
If you’re unsure which system is on your home, tap the wall. Traditional stucco feels solid and sounds hard. EIFS feels slightly hollow and has some give.
Inspect the Damage
Walk the exterior during daylight and look for:
- Hairline cracks: Thin cracks less than 1/8 inch wide, typically caused by normal settling or thermal expansion. These are cosmetic and the easiest to repair.
- Structural cracks: Wider than 1/8 inch, often diagonal or stair-stepping. These can signal foundation movement or framing issues that need to be addressed before patching the stucco.
- Holes and chips: Usually from impact damage (lawn equipment, ladders, hail). Check the depth; surface-only chips are straightforward, while holes exposing lath or sheathing require a multi-coat repair.
- Bulging or loose stucco: Tap the surface with a rubber mallet. A hollow sound means the stucco has separated from the lath and the entire loose section must be removed.
- Discoloration and staining: Brown or yellow staining suggests water intrusion. White powdery residue (efflorescence) indicates moisture moving through the wall and depositing mineral salts on the surface.
- Soft or spongy spots: Press firmly on suspect areas. Soft stucco usually means moisture has been trapped behind the wall for an extended period.
Check for Moisture
If you suspect water damage, use a pin-type moisture meter on the stucco surface. Readings above 15 to 20% indicate trapped moisture that must be addressed before any repair, as trapping water behind fresh stucco leads to mold and further deterioration.
For a more thorough assessment, infrared thermal imaging can reveal hidden moisture patterns behind the wall without invasive testing.
Step 2: Gather Your Tools and Materials
Having everything on hand before you start prevents delays and ensures a smooth repair.
Essential Tools
- Hammer and cold chisel
- Wire brush
- Margin trowel and flat finishing trowel
- Drywall hawk
- Notched trowel (for scratching)
- Rubber grout float
- Caulk gun
- 4-inch drywall knife or putty knife
- Snips (for cutting metal lath)
- Spray bottle or garden hose with mist nozzle
- Wheelbarrow and shovel (for mixing larger batches)
- Safety goggles, work gloves, and dust mask
Repair Materials
- Hairline cracks (under 1/8 inch): Elastomeric or sanded masonry caulk (e.g., Quikrete Stucco Repair, Sika mortar caulk). Use for quick cosmetic crack sealing.
- Small surface patches (under 1/4 inch deep): Pre-mixed stucco patch (e.g., Quikrete Pre-Mixed Stucco Patch, DAP Flexible Stucco Patch). Use for shallow chips and surface damage.
- Larger holes and deep cracks: Portland cement, sand, and hydrated lime (dry mix) or bagged stucco mix. Use for multi-coat structural repairs.
- Bonding between old and new stucco: Acrylic bonding agent. Use for any patch where new stucco meets old.
- Damaged lath: Galvanized metal lath and roofing nails. Use when wire mesh is exposed or deteriorated.
- Moisture barrier: Grade-D builder’s paper. Use when sheathing is exposed behind removed stucco.
Always match your materials to the damage type. Use caulk for hairline cracks and a full stucco mix for deeper repairs, and remember that an acrylic bonding agent is essential whenever you’re applying new stucco over an existing surface. Safety goggles and gloves are non-negotiable, as wet Portland cement is alkaline and can cause skin burns.
Step 3: Prepare the Area
A clean, stable surface is the foundation of a lasting stucco repair. Skipping preparation is the most common reason patches fail.
Remove Loose or Damaged Stucco
Hold a cold chisel at an angle against the damaged area and tap with a hammer. Work outward from the center, removing all crumbling or compromised material until you reach solid, firmly bonded stucco. For deeper damage, continue chiseling down to the metal lath or wire mesh beneath.
If the hole exposes wood lath or sheathing, cover the exposed area with Grade-D builder’s paper secured with roofing nails. Then install new galvanized metal lath over the paper, positioning the rough (cup-facing) side outward and nailing every 6 inches.
Clean the Surface
Scrub the exposed area and surrounding edges with a wire brush to remove loose particles, dust, old paint, and any mold or mildew. For heavily soiled areas, wash with water and a mild detergent, rinse thoroughly, and allow the area to dry completely before proceeding.
Protect Surrounding Surfaces
Cover windows, doors, trim, landscaping, and adjacent siding with plastic sheeting secured by painter’s tape. Stucco splatters are difficult to clean once dried.
Step 4: Address Water Damage
If your inspection revealed signs of water damage and intrusion, such as staining, efflorescence, soft spots, or mold, you must fix the moisture source before patching the stucco. Sealing over wet stucco traps moisture inside the wall, leading to mold growth, wood rot, and accelerated deterioration.
Identify the Moisture Source
Common culprits include:
- Clogged or misdirected gutters and downspouts: Water overflowing or pooling near the wall.
- Failed caulking around windows, doors, vents, and pipe penetrations.
- Damaged or missing flashing at rooflines, window headers, and wall transitions.
- Sprinkler systems spraying directly onto stucco walls.
- Plumbing leaks behind the wall (less obvious but common in older homes).
In Tucson, monsoon season brings sudden, heavy rainfall that can exploit even minor caulking gaps. Inspect and re-caulk all penetrations annually before the monsoon storms arrive.
Treat Mold and Mildew
If mold is present, scrub affected areas with a solution of one part bleach to four parts water. Wear gloves, goggles, and a respirator, and ensure good ventilation. For mold covering more than 10 square feet, consult a mold remediation professional, as the issue may extend behind the wall.
Replace Compromised Materials
If water has reached the framing, check for rotted wood, corroded lath, or deteriorated sheathing. Replace any compromised structural components before applying new stucco. Building over rotten wood or rusted lath guarantees a premature repair failure.
Seal and Waterproof
Before patching, seal all cracks and gaps around windows, doors, and fixtures with a high-quality exterior caulk. Once the stucco repair is complete, consider applying a penetrating masonry sealer (silane/siloxane-based) to provide long-term moisture protection without trapping vapor inside the wall.
Step 5: Mix the Stucco Repair Material
The quality of your mix directly determines the strength, adhesion, and longevity of the repair. Getting the consistency right is worth the extra few minutes.
Choosing the Right Product
- Pre-mixed stucco patch: Convenient for small surface repairs. Open the container, stir, and apply. Products such as Quikrete Pre-Mixed Stucco Patch or DAP Stucco Patch work well for shallow chips and minor damage.
- Dry-mix (bag mix): Better for larger repairs where you need more control over consistency. A standard stucco repair mix combines Portland cement, sand, and hydrated lime.
- Custom three-coat mix: For significant damage requiring a full three-coat application, use these approximate ratios:
- Scratch coat: 1 part Portland cement, 3 parts sand, 1/4 part hydrated lime, plus acrylic bonding agent
- Brown coat and finish coat: 1 part Portland cement, 4 parts sand, 1/4 part hydrated lime, plus acrylic bonding agent
Mixing Guidelines
- Blend the dry ingredients first (Portland cement, sand, hydrated lime) in a wheelbarrow or mixing bucket.
- Add acrylic bonding agent per the product’s instructions.
- Add clean, potable water gradually, less than you think you’ll need.
- Mix until the consistency resembles thick peanut butter. The mix should hold its shape on a trowel without sagging but spread smoothly when pressed against the wall.
- Use the mix within 30 to 60 minutes. Stucco begins to set once water is added, and working with partially set material weakens the repair.
Tips for a Reliable Mix
- Don’t add too much water. A soupy mix is weaker and shrinks more as it cures, increasing the chance of cracking.
- Avoid overmixing. Excessive mixing introduces air bubbles that reduce strength.
- Use clean water only. Impurities can affect curing and durability.
- Mix only what you can apply in 30 minutes. Smaller batches are better than wasting material that sets in the wheelbarrow.
Step 6: Apply the Stucco Repair Material
Application technique varies depending on whether you’re filling a hairline crack or rebuilding a larger section.
Hairline Cracks (Under 1/8 Inch)
- Clean the crack with a wire brush.
- Load elastomeric stucco caulk into a caulk gun and apply a consistent bead directly into the crack.
- Tool the caulk with a damp finger or cloth, pressing it firmly into the crack.
- While still wet, lightly dab the surface with a sponge or stiff brush to blend the texture with the surrounding wall.
Small Patches (Under 1/4 Inch Deep)
- Dampen the repair area and surrounding stucco edges with a spray bottle.
- Apply pre-mixed stucco patch with a putty knife or margin trowel, pressing firmly into all crevices.
- Smooth the surface flush with the surrounding wall.
- Texture-match before the patch sets (see Step 7).
Larger Repairs (Three-Coat Application)
For damage deeper than 1/4 inch or areas where lath is exposed, build the repair in layers:
- Scratch coat: Dampen the old stucco edges and metal lath. Apply approximately 3/8 inch of stucco mix, pressing it firmly into the lath. Use a notched trowel to score horizontal grooves into the surface. This “scratching” gives the next layer something to grip. Mist lightly and allow to cure for 24 to 48 hours.
- Brown coat: Once the scratch coat is firm but not fully cured, apply the second layer to bring the surface nearly flush with the surrounding wall. Smooth with a rubber float and keep lightly damp for one to two days.
- Finish coat: Apply a thin top layer and match the existing texture (see Step 7). Allow to cure fully before painting.
Step 7: Texture the Stucco
Texture-matching stucco patches is what separates a visible patch from an invisible repair. Take time with this step.
Study the Existing Texture
Before applying the finish coat, examine the surrounding stucco closely. Common stucco textures include:
- Smooth (sand finish): Achieved by rubbing the surface with a rubber or foam float.
- Dash (roughcast): Created by throwing or spraying a wet stucco mix against the wall.
- Skip trowel: A lightly dragged trowel leaves a random, organic pattern.
- Lace or knockdown: Dash texture that’s been lightly flattened with a trowel.
- Cat face (Santa Barbara): Smooth background with random rough spots.
- Worm finish: Circular rubbing with a float produces worm-like grooves.
Techniques for Matching Texture
- Trowel: Press and pull at varying angles and pressures. For skip-trowel textures, drag the trowel lightly across the surface without fully smoothing it.
- Sponge or brush: Dab or stipple for dash and lace textures. A damp sponge works well for finer patterns.
- Texture roller: Select a roller that matches the existing pattern and roll over the semi-set stucco.
- Whisk broom: Drag or dab for coarse textures.
Practice on a scrap piece of cardboard or plywood first. Adjust your technique before touching the actual repair.
Step 8: Allow the Stucco To Dry and Cure
Curing is not the same as drying. Stucco needs controlled moisture over several days to reach full strength. Rushing this step leads to cracking, flaking, and poor adhesion.
Curing Timeline
- Scratch coat: 24 to 48 hours before applying the brown coat.
- Brown coat: 3 to 7 days of moist curing before applying the finish coat.
- Finish coat: 7 to 14 days before painting or sealing.
Moist Curing
In Tucson’s dry desert climate, stucco can lose moisture too quickly, weakening the cure. Mist the repaired area lightly with water two to three times per day during the curing period. In extreme summer heat, cover the repair with a damp burlap cloth or plastic sheeting to retain moisture.
Factors That Affect Curing
- Temperature: Ideal curing temperatures are between 50°F and 90°F. Avoid repairing stucco when temperatures drop below 40°F at night, as freezing can ruin uncured stucco.
- Humidity: Low desert humidity speeds evaporation, so mist more frequently.
- Wind: Strong gusts draw moisture from the surface unevenly. Shield the repair from direct wind when possible.
- Direct sun: Intense southwestern sun can cause rapid surface drying while the interior remains uncured. Shade the patch during peak afternoon heat.
Test Before Proceeding
Press a small piece of clear plastic wrap against the stucco. If condensation forms on the plastic after 15 minutes, the repair is still releasing moisture and isn’t ready for paint or sealant.
Step 9: Paint the Stucco
Once fully cured, painting blends the repair into the existing wall and adds a protective barrier against UV exposure and moisture.
Choose the Right Paint
Use a high-quality exterior acrylic latex paint formulated for masonry surfaces. Acrylic latex is flexible enough to accommodate minor stucco movement without cracking and is breathable enough to let trapped moisture escape.
Other coating options include:
- Elastomeric coatings: Thicker than standard paint, these bridge hairline cracks and provide superior waterproofing. Best for walls with a history of recurring fine cracks.
- Mineral paints (silicate-based): Bond chemically with the stucco surface for exceptional durability. Low maintenance and highly breathable.
- Lime wash: A traditional finish that penetrates the stucco rather than sitting on top. Creates a natural, chalky appearance.
- Fog coat: A thin layer of pigmented cement applied to the surface. Common on new stucco to provide initial color without a full paint job.
Painting Process
- Clean the surface. Remove dust, dirt, and efflorescence with a dry brush.
- Apply a masonry primer. Priming evens out the porosity between the patched area and the existing stucco, preventing “flashing” (visible sheen differences) after painting.
- Apply paint in thin, even coats. Use a thick-nap roller (3/4 inch or greater) to work paint into the stucco texture. For smaller repairs, a brush provides more precision.
- Apply two coats. Allow the first coat to dry 4 to 6 hours before applying the second.
- Feather beyond the repair. Extend paint slightly beyond the patched area to create a gradual transition rather than a hard line.
Step 10: Seal and Protect the Stucco
Sealing extends the life of your repair and protects against Tucson’s harsh sun and sudden monsoon downpours.
Types of Stucco Sealers
- Penetrating sealers (silane/siloxane): These absorb into the stucco without changing its appearance. They repel water while remaining breathable, making them the preferred choice for most residential applications.
- Film-forming sealers: These create a surface coating that blocks water but can trap moisture if applied over damp stucco. Less breathable than penetrating sealers.
- Elastomeric sealers: These combine waterproofing with flexibility, bridging minor cracks as the stucco expands and contracts with temperature changes.
Application Tips
- Apply sealer to clean, fully cured stucco on a dry day.
- Use a pump sprayer, roller, or brush, depending on the product.
- Apply two thin coats rather than one heavy coat for even coverage.
- Pay extra attention to areas around windows, doors, and rooflines where water intrusion is most likely.
Re-Sealing Schedule
Plan to re-seal every 5 to 10 years, depending on exposure. Walls that face south or west in Tucson endure the most UV and rain exposure and may need sealing on the shorter end of that range.
Step 11: Monitor for Further Damage
Stucco repairs don’t end when the paint dries. Regular stucco maintenance and monitoring catches new problems early before they require another major repair.
Maintenance Schedule
- Monthly: Walk the exterior and scan for new cracks, chips, discoloration, or bulging.
- Before and after monsoon season: Inspect caulking around windows, doors, and penetrations. Re-caulk any gaps.
- Annually: Check gutters, downspouts, and flashing for proper water diversion. Verify sprinklers aren’t hitting stucco walls.
- Every 5 to 10 years: Re-seal the stucco and assess whether full repainting is needed.
Keep a Repair Log
Document each repair, including the date, location, materials used, and product brands. This record helps you track recurring problem areas and plan maintenance more effectively. It’s also valuable information if you sell the home.
When To DIY vs. Hire a Professional
Not every stucco repair is a weekend project. Here’s a quick guide:
- Hairline cracks (under 1/8 inch): DIY-friendly; a professional is not necessary.
- Small holes and chips (under 6 inches): DIY with proper prep; professional optional.
- Large holes or multiple cracks: Possible as DIY but challenging; professional recommended.
- Structural cracks (diagonal, widening): Not a DIY job; a professional is required, and the cause must be addressed first.
- Water damage with mold or rot: Not a DIY job; a professional is required and remediation may be needed.
- EIFS (synthetic stucco) repairs: Not a DIY job; a professional is required due to specialized materials and technique.
- Full wall re-stuccoing: Not a DIY job; a professional is required.
When in doubt, a licensed stucco contractor can evaluate the damage and recommend the most cost-effective repair approach.
How To Repair Stucco: The Bottom Line
Stucco repair is a manageable project when you follow the right sequence: assess, prepare, fix the root cause, mix properly, apply in layers, texture-match, cure slowly, and protect the finished surface.
Most hairline cracks and small patches can be handled in a weekend with basic tools and readily available materials such as Quikrete stucco patch or elastomeric caulk.
The key is not to cut corners on preparation or curing. A repair that looks good on day one but wasn’t properly bonded or cured will fail within months. Take the time to do it right, and your stucco will continue to protect and beautify your home for decades.
For Tucson homeowners dealing with extensive damage, recurring cracks, or water intrusion behind the stucco, professional repair is the smarter investment. A licensed contractor can address structural issues, ensure proper waterproofing, and deliver a seamless finish that holds up against the desert climate.
Don’t leave your stucco repair to chance. Sunset Coatings Stucco & Paint is here to help. Contact us today to set up a free stucco assessment and repair estimate.
Frequently Asked Questions About Stucco Repair
What is the best way to repair stucco?
The best approach depends on the damage. Hairline cracks under 1/8 inch respond well to elastomeric caulk or sanded masonry caulk. Small chips and shallow damage can be filled with pre-mixed stucco patches. For deeper holes or areas where lath is exposed, a three-coat application (scratch coat, brown coat, finish coat) using Portland cement, sand, and hydrated lime provides the most durable result. Regardless of the method, proper surface preparation and a bonding agent are essential for adhesion.
How do you repair an outside stucco wall?
Start by removing all loose or crumbling stucco with a hammer and chisel. Clean the area with a wire brush, apply an acrylic bonding agent to the edges of the existing stucco, and then build up the repair in layers. For large patches, use a three-coat system and allow each layer to cure before applying the next. Finish by matching the existing texture, curing fully, priming, and painting.
Can you put new stucco over old stucco?
Yes, but only if the existing stucco is solid, clean, and well-bonded to the wall. Applying an acrylic bonding agent to the old surface significantly improves adhesion between the layers. If the old stucco is crumbling, hollow-sounding, or water-damaged, it should be removed down to the lath before applying new material.
What materials do I need for stucco repair?
At a minimum, you’ll need a hammer, cold chisel, wire brush, trowel, and the appropriate repair material (caulk, pre-mixed patch, or dry stucco mix with Portland cement, sand, and hydrated lime). An acrylic bonding agent, metal lath (for larger repairs), safety goggles, and gloves are also essential. For finishing, you’ll need masonry primer, exterior acrylic latex paint, and a penetrating stucco sealer.
How long does a stucco repair take to cure?
A patch using pre-mixed stucco typically dries within 24 hours for surface handling, but full curing takes 7 to 14 days before painting or sealing. A full three-coat repair requires 24 to 48 hours between the scratch and brown coats, 3 to 7 days for the brown coat to cure, and another 7 to 14 days after the finish coat before painting. In Tucson’s dry climate, mist the repair regularly during curing to prevent premature drying.
Can I repair stucco in hot weather?
Yes, but take precautions. Temperatures above 90°F cause stucco to lose moisture too quickly, weakening the cure. Work in shaded areas when possible, mist the repair two to three times daily, and consider covering the patch with damp burlap or plastic sheeting during peak afternoon heat. Avoid repairs when temperatures will drop below 40°F overnight, as freezing can ruin uncured stucco.
How much does stucco repair cost?
DIY repairs for small cracks and patches cost $20 to $50 in materials. Larger repairs requiring stucco mix, lath, bonding agent, and finishing supplies typically run $50 to $150. Professional stucco repair in Tucson generally ranges from $8 to $50 per square foot, depending on the extent of the damage and whether structural issues need to be addressed.